CS SafeGuard constantly scans OIG, GSA and OFAC databases to uncover any disciplinary or administrative actions in real-time – far different from a bulk data upload that captures a snapshot of data from a given time offered by other screening organizations.
Accessing CS Safeguard
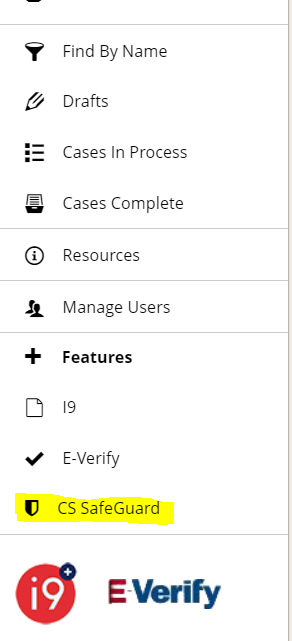
On the left hand side of the home page in EASE, click on CS Safeguard
Creating a Roster
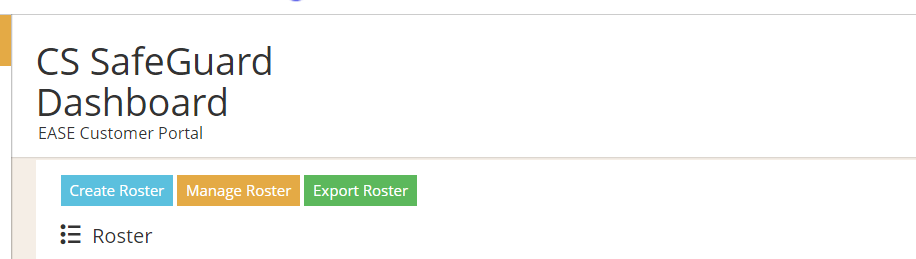
To add a Roster for monitoring, click Create Roster
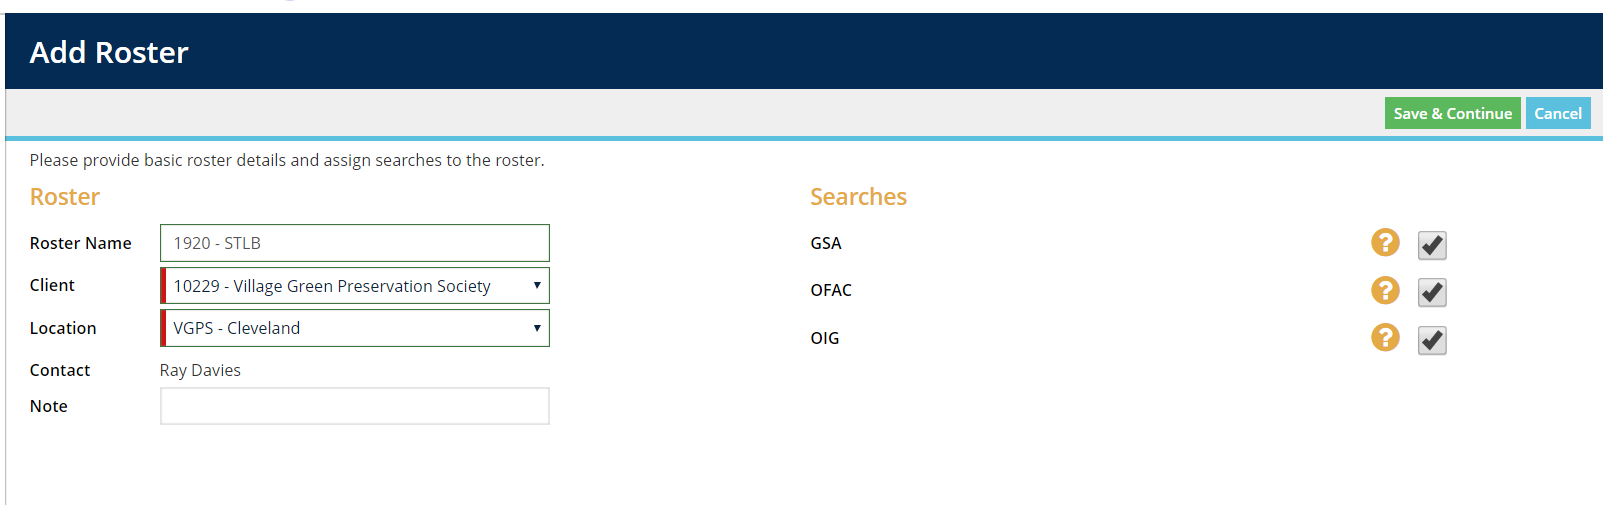
Name your Roster and choose the products you want to monitor for the roster and click Save & Continue
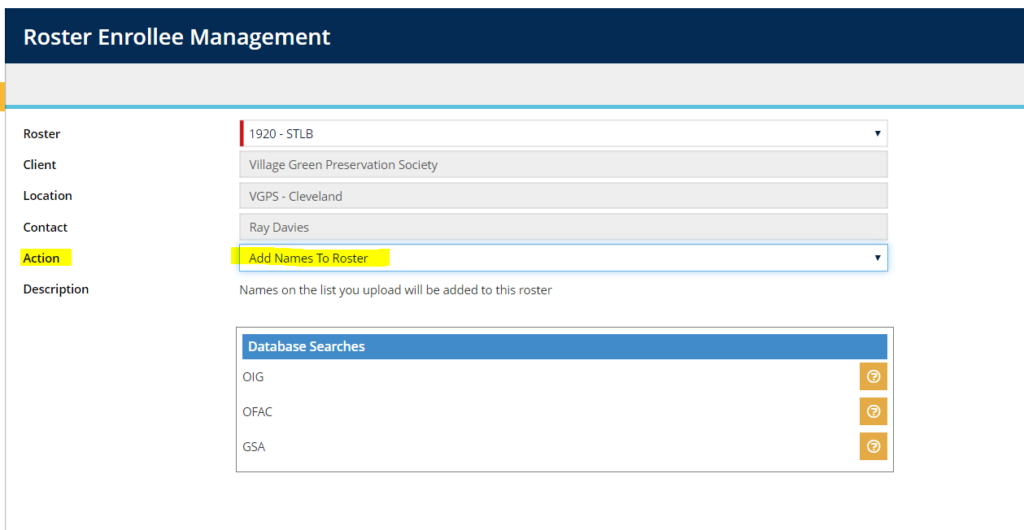
Review your Roster order details and choose the [default] action Add Names to Roster
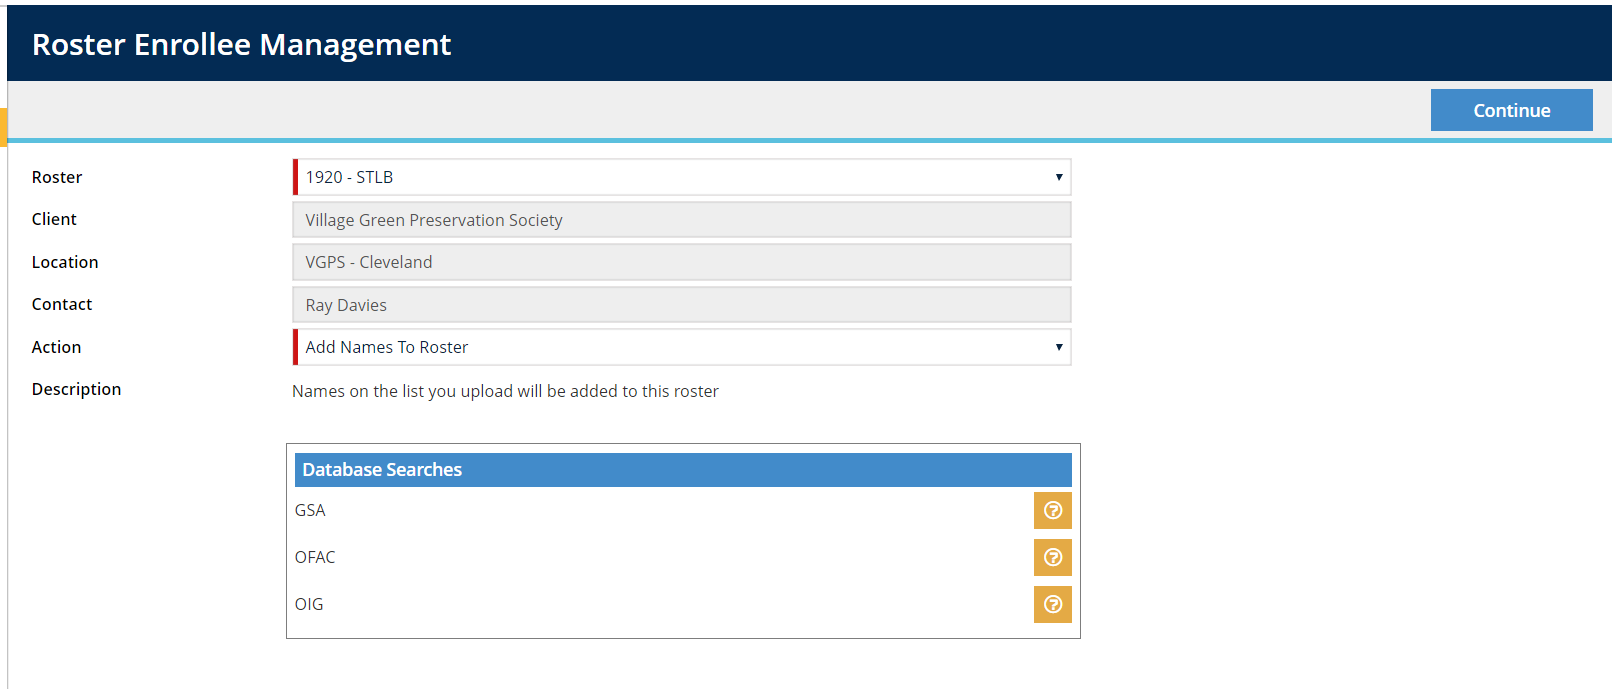
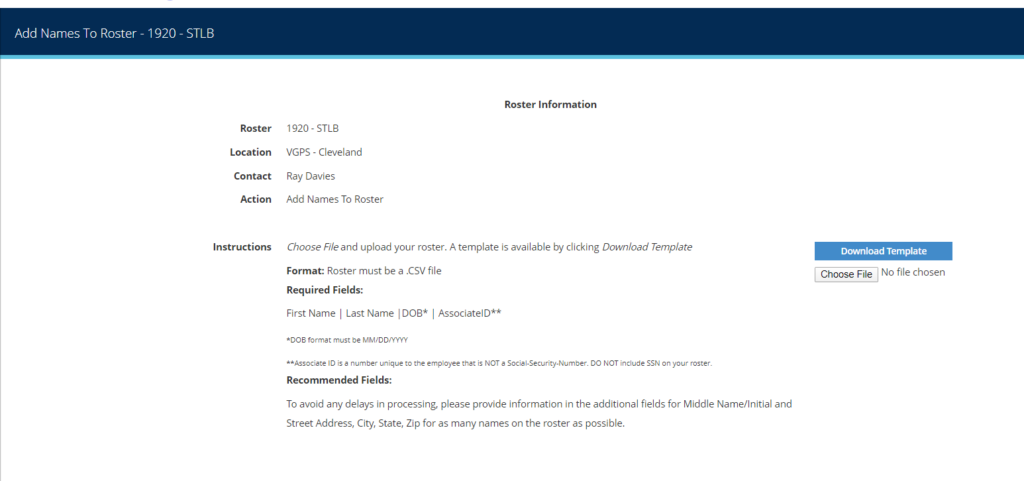
On the following page, you will attach your Roster.
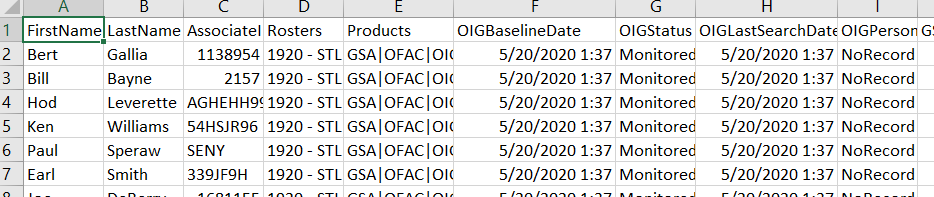
A template is available for download or you can attach a spreadsheet you created yourself as long as it meets the required format and includes required fields.
Required Fields:
First Name | Last Name |DOB* | AssociateID**
*DOB format must be MM/DD/YYYY
**Associate ID is a number unique to the employee that is NOT a Social-Security-Number. DO NOT include SSN on your roster.
Recommended Fields:
To avoid any delays in processing, please provide information in the additional fields for Middle Name/Initial and Street Address, City, State, Zip for as many names on the roster as possible.

Required Format
The spreadsheet must be in a .CSV format.
If your spreadsheet is not in this format, it will be rejected.
You can change the format of your spreadsheet
Choose SAVE AS
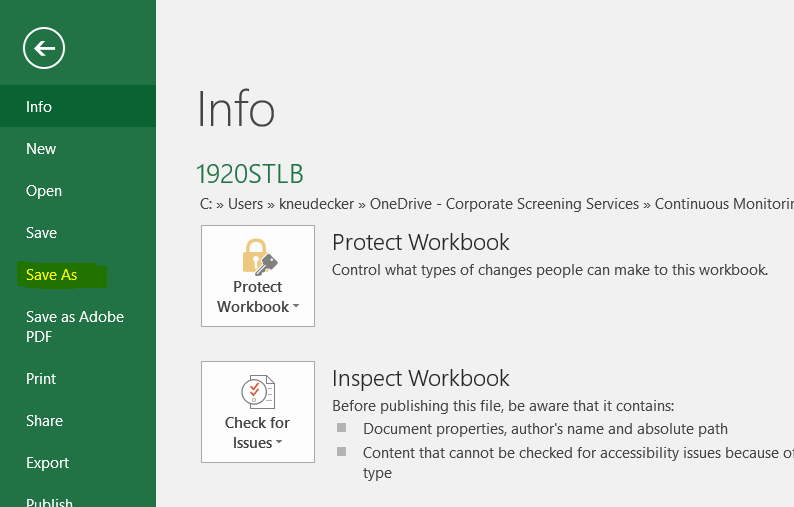
Choose CSV as your “Save as type”

Review Upload
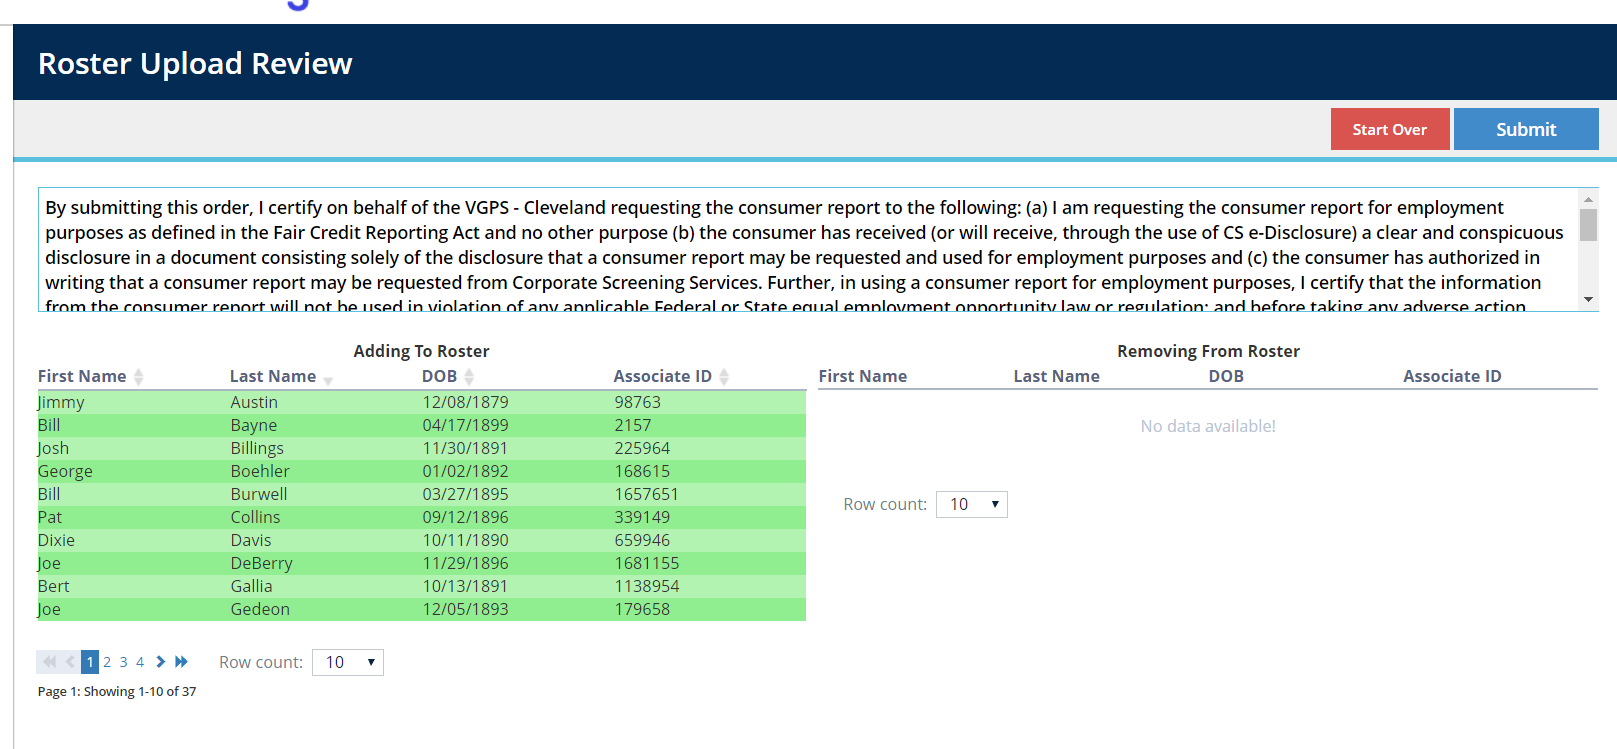
Once your spreadsheet is accepted you will be given a preview of the Roster
Review and make sure the information makes sense, i.e. first names are in the first name field.
If everything looks good. Click SUBMIT
You will be notified the Roster was accepted.
Click CONFIRM
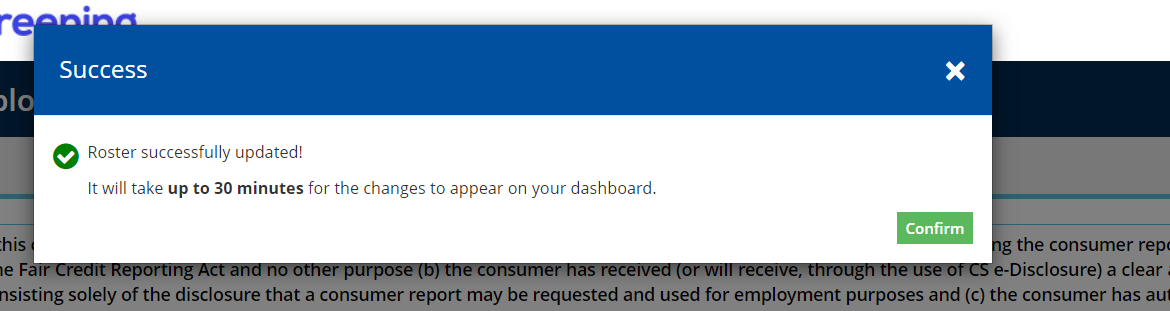
Depending on the size of your roster, it may take up to 30 minutes for the roster searches to appear.
Most searches will be completed within a few minutes.
Initial searches complete
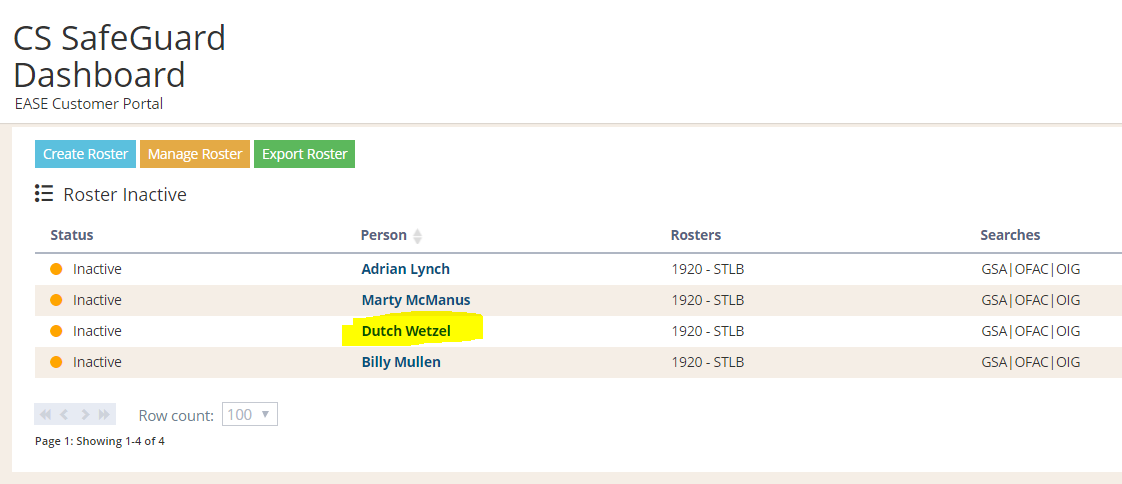
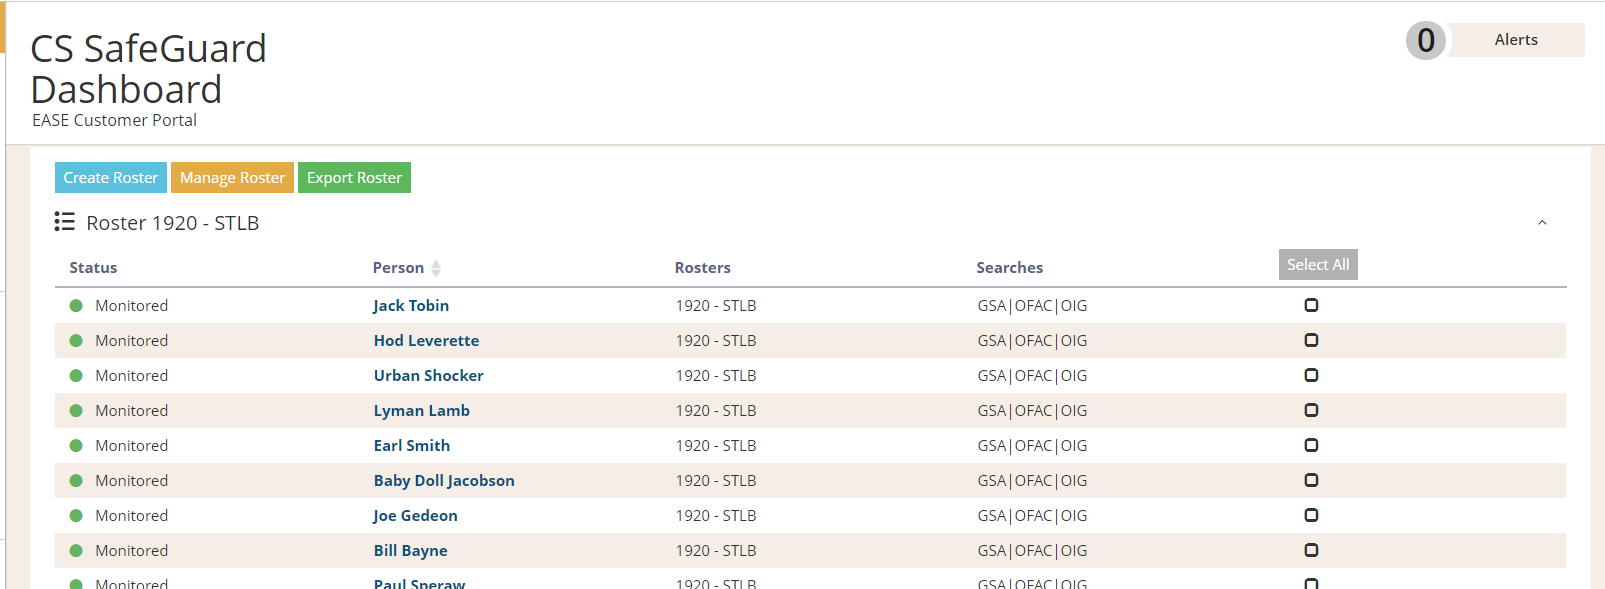
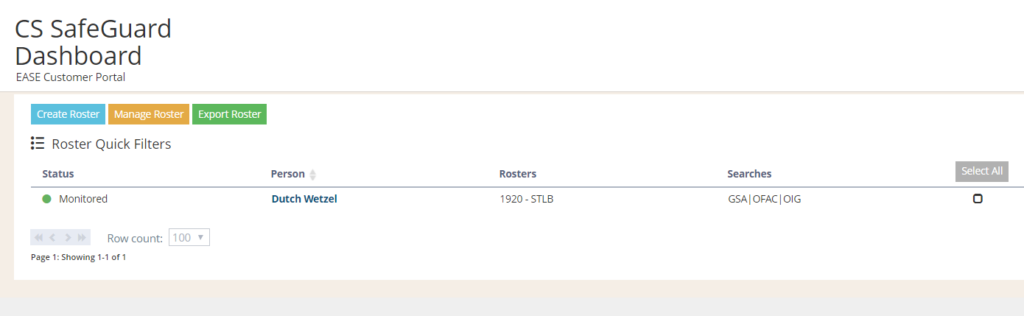
When searches are complete, the names will display on the dashboard and the individual is now being monitored for the searches listed in the Searches column
Employee In-Focus
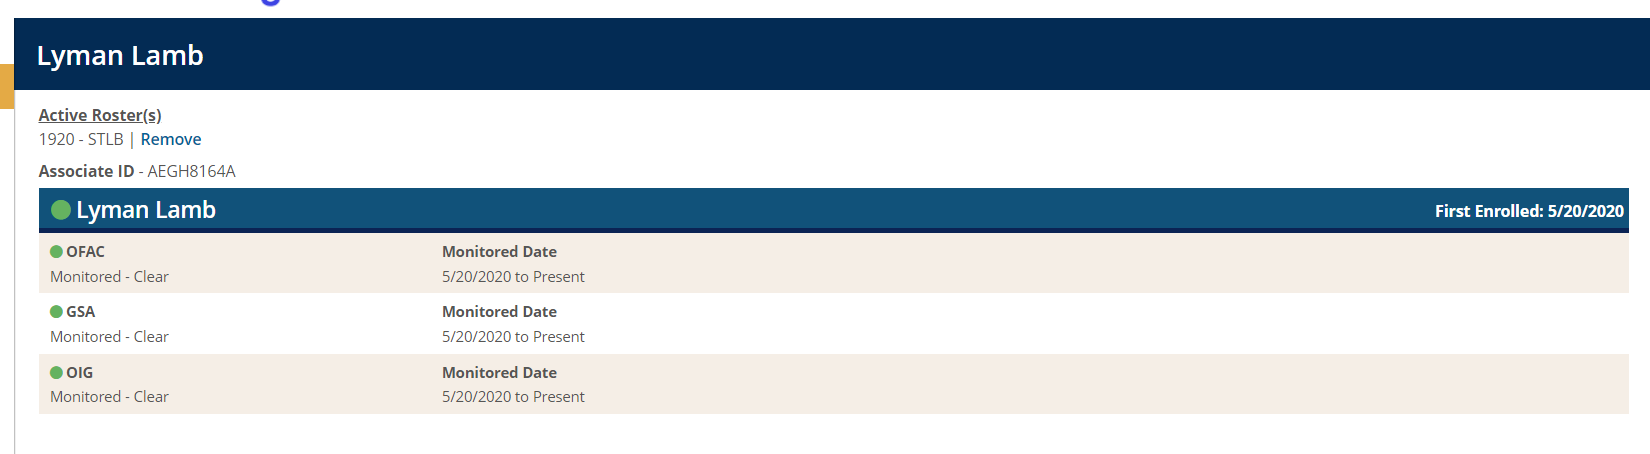
You can click on any name and bring that employee into focus.
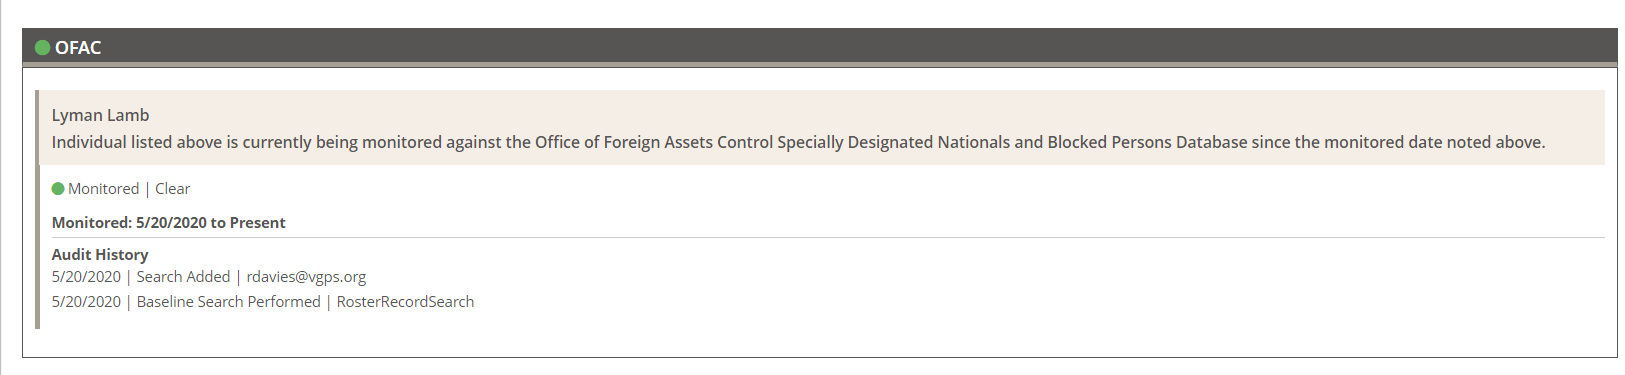
When in focus, the date the employee was enrolled in monitoring will be displayed for each search and you can view the audit history for each search
Exporting Roster
You can export a roster to an excel spreadsheet
Click Export Roster on the dashboard

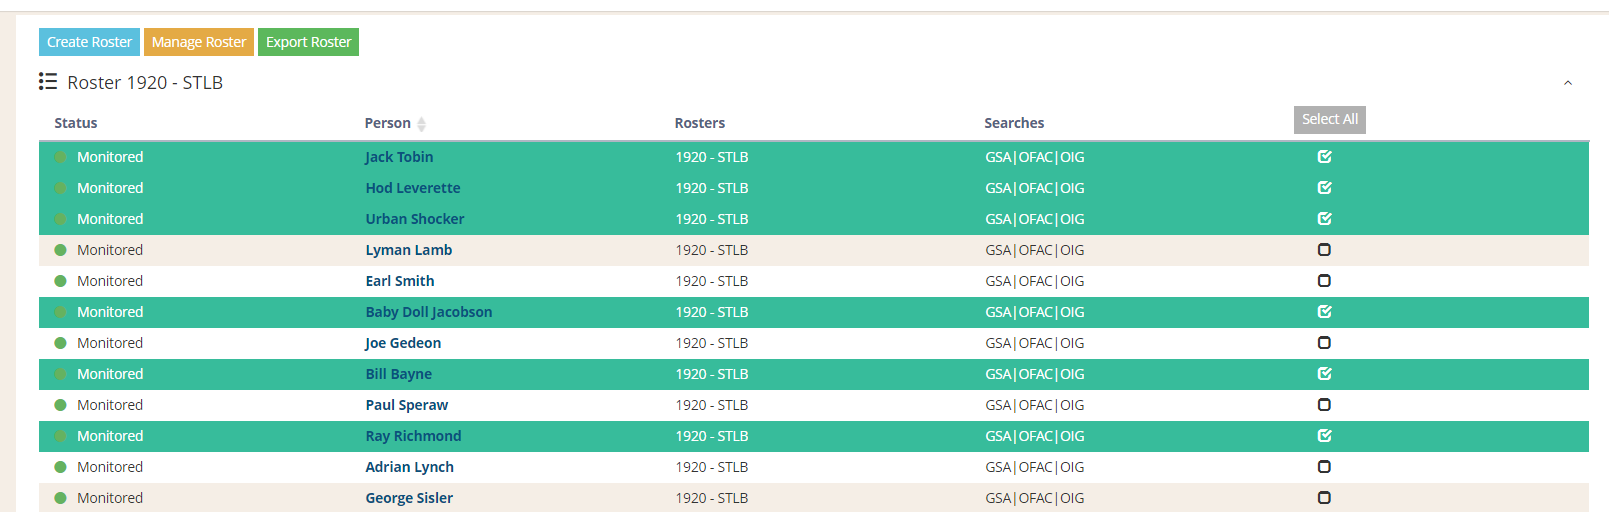
You can export the entire roster or select individuals to export by clicking the box on the right hand side
The spreadsheet will display the name of the employee, the date the monitoring began for each search and the current status of the search
Managing the Roster
CS Safeguard makes managing your rosters simple, with options that account for the different ways you manage your roster internally.
There are 4 options for updating your roster(s)
You can access all the options by clicking Manager Roster from the dashboard

Add Names to Roster
Choose the roster you want to update and click Upload

On the next screen, in the Action drop-down choose Add Names to Roster
You will then follow the same process you did when you initially set-up your roster.
Remove Names from Roster
This follows the same process as adding names to a Roster, except that you will choose Remove Names from Roster in the Action
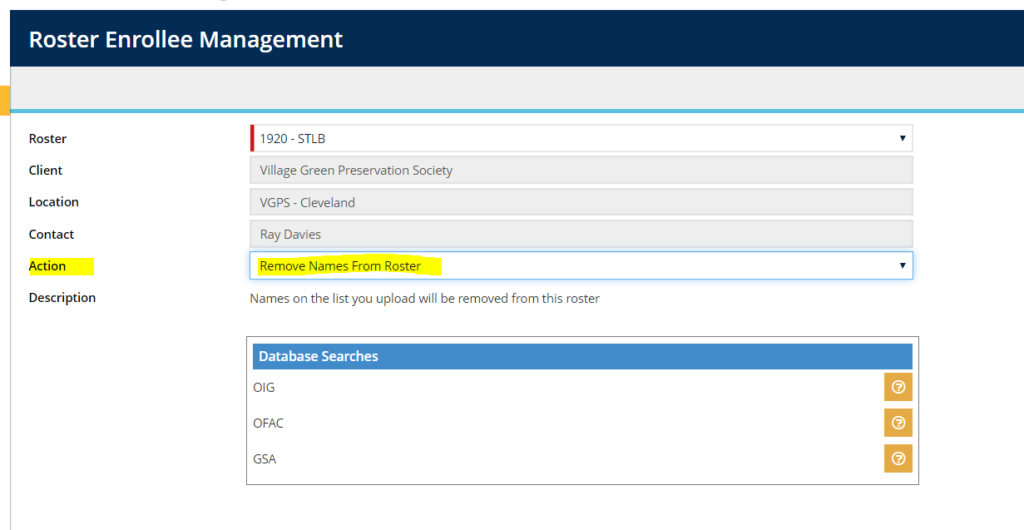
Follow the same process you would to add names, but upload a roster of names you want removed and no longer monitored.
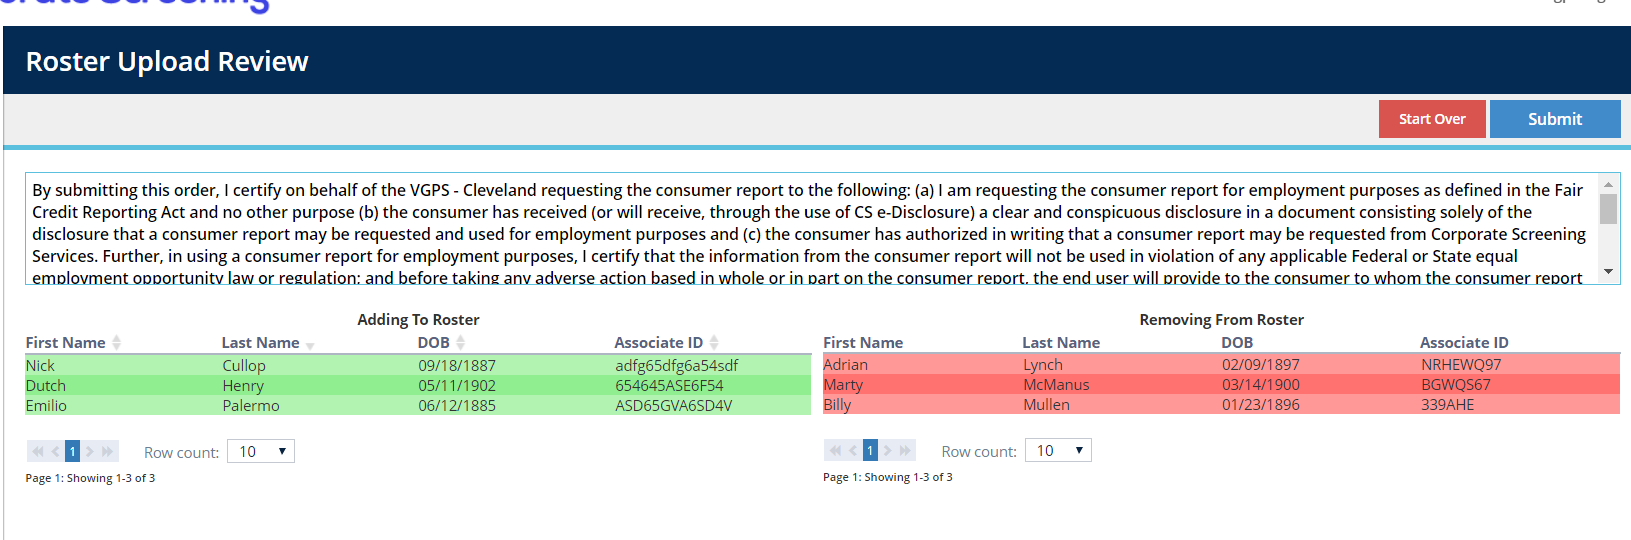
Replace Roster
Replace Roster allows you to submit your current roster of employees to be monitored and CS Safeguard will reviews the spreadsheet and determine those that will remain on the roster, any new names that need to be added to the roster and any names that need to be removed from monitoring, since they are no longer on your roster.
Choose Replace Roster in the action
Upload your updated Roster
The system will compare the replacement roster to the current roster and identify the changes.
The names that will be added (green) and the names that will be removed (red) will display on the screen.
You can review for accuracy before clicking Submit
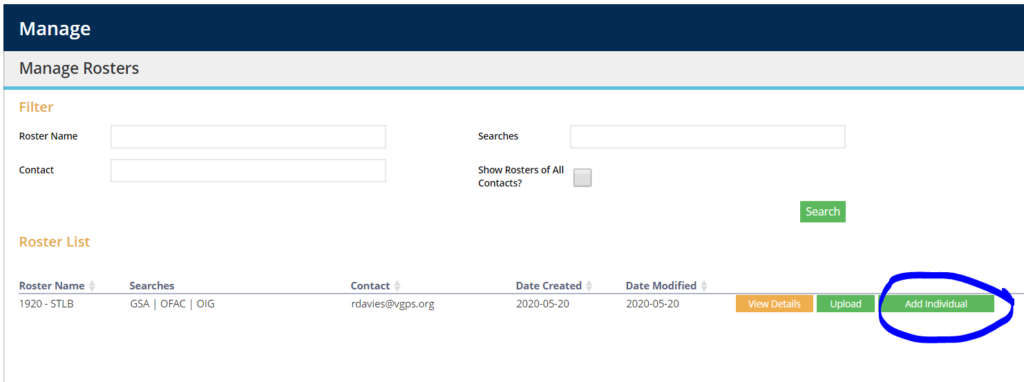
Add/Remove Individual
Instead of adding/removing en masse, you can add or remove employees individually
Add Individual
From the Manager Rosters screen click Add Individual
Enter the details of the individual to be added to the roster and click Save
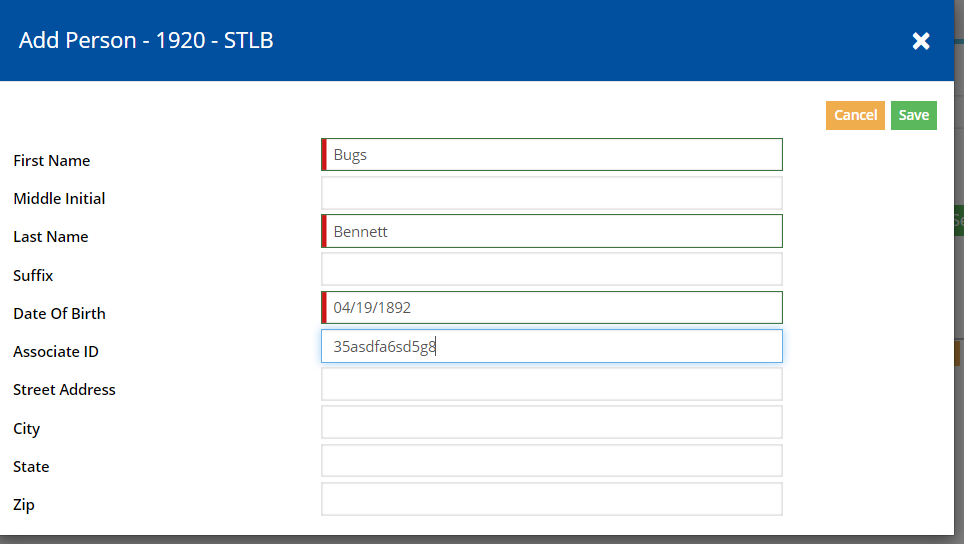
Once the search is complete, you will see the individual on your roster

Remove Individual
To remove a single individual from your roster, locate the individual using the search feature on the left hand side of the dashboard.
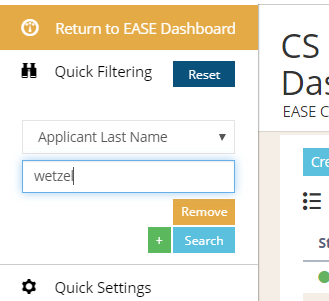
Click on the individual to bring them in focus.

Click Remove
Make sure you picked the correct individual and click Submit
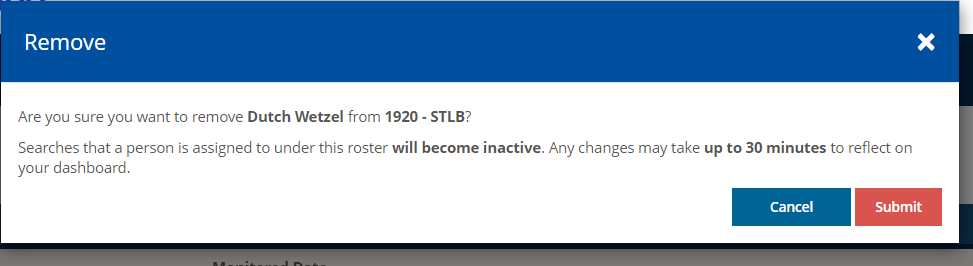
The individual will now appear in your list of Inactive searches